If you use Home Assistant to automate your smart home, enabling location tracking in the mobile app can take your automations to the next level. With tracking turned on, Home Assistant can know when you’re arriving or leaving home, helping trigger actions like turning on the lights, adjusting the thermostat, or opening the garage door automatically. However, setting up tracking properly requires a few important steps—especially to ensure your device updates location data reliably and respects your privacy settings. In this guide, you’ll learn how to enable tracking in the Home Assistant mobile app .
Introduction
Home Assistant is one of the most powerful open-source platforms for managing and automating your smart home devices. 🏠✨ But to unlock its full potential, you need to enable location tracking on the Home Assistant mobile app. This simple step lets your automations respond dynamically to your presence — for example, turning on lights when you arrive, lowering the thermostat when you leave, or sending you alerts when everyone is away. 🚗💡
Many users install the app but never fully set up tracking, missing out on these location-based automations. Enabling it correctly ensures Home Assistant always knows who’s home and who’s not — without constant manual updates. 📱
In this guide, we’ll walk you through how to enable tracking in the Home Assistant mobile app for both Android and iOS devices. You’ll learn how to:
- ✅ Grant the right location permissions
- ⚙️ Link the app with your Home Assistant server
- 🧭 Adjust background update settings
- 🔒 Balance privacy with reliable automation triggers
Whether you’re a beginner or a seasoned Home Assistant user, you’ll find clear, step-by-step instructions and useful troubleshooting tips to keep tracking smooth and consistent. By the end of this tutorial, your smart home will respond automatically to your movements — making daily life more convenient, efficient, and just a little bit magical. ✨
Main
If you want your smart home to truly respond to your lifestyle, enabling location tracking in the Home Assistant mobile app is a must. With tracking activated, Home Assistant can detect when you’re arriving or leaving, and trigger automations that make your home smarter — like adjusting lights, opening the garage, or setting your thermostat automatically. 🌡️🚗💡
🔧 Step 1: Open the Home Assistant Mobile App
Start by launching the Home Assistant mobile app on your Android or iOS device. Make sure it’s already connected to your Home Assistant server — if not, log in with your local or Nabu Casa credentials. Once connected, tap your profile icon in the bottom menu (👤). This is where you’ll access tracking and notification settings.
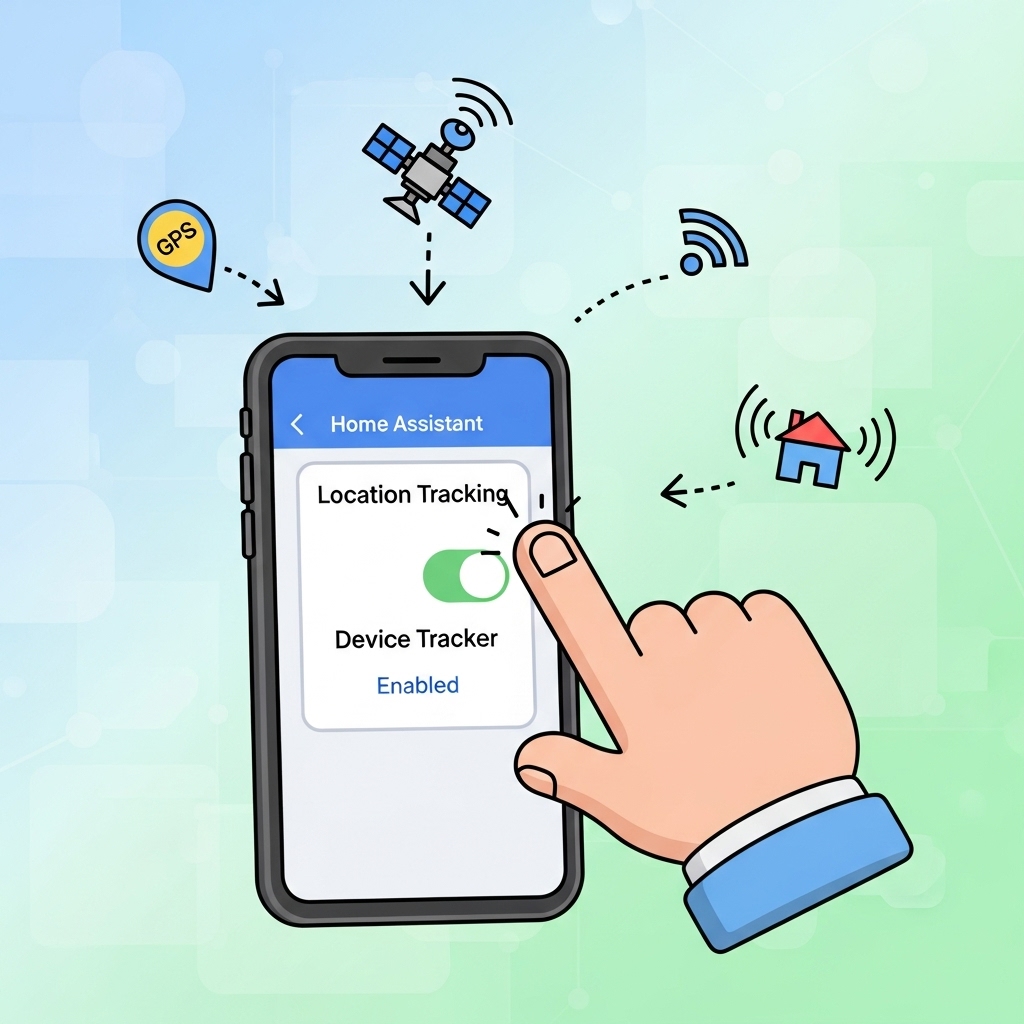
📍 Step 2: Enable Location Permissions
Scroll down to the Location section in your profile settings. Enable Location Tracking and make sure your device grants the app “Always” permission to access your location. Without this, the app won’t send background updates to your server, and automations may not trigger correctly.
- ✅ On Android: Go to Settings → Apps → Home Assistant → Permissions → Location → Allow all the time.
- 🍎 On iOS: Open Settings → Home Assistant → Location → Always, and turn on “Precise Location.”
Once permissions are set, your phone will start reporting GPS data to Home Assistant automatically.
⚙️ Step 3: Verify Device Tracker Integration
Next, ensure your Home Assistant instance recognizes your mobile device as a tracker entity. Go to Settings → Devices & Services → Entities and search for your phone’s name (for example, “device_tracker.iphone_charles”). If it appears there, your app is communicating correctly with your server. 🎯
If it doesn’t show up, check that your server URL and authentication tokens are valid in the mobile app settings. Sometimes a reconnect (log out and back in) fixes missing entities instantly.
🧭 Step 4: Optimize Background Updates
For reliable tracking, make sure your phone’s battery settings don’t restrict background activity. Mobile operating systems tend to limit GPS updates to save power, which can delay automation triggers.
- 🔋 On Android: Disable “Battery Optimization” for the Home Assistant app.
- ⚡ On iOS: Keep “Background App Refresh” enabled for Home Assistant.
You can test updates by checking the map in your Home Assistant dashboard — your phone’s location should refresh every few minutes or whenever you move significantly.
🔒 Step 5: Manage Privacy & Accuracy
Home Assistant handles location data locally, meaning your coordinates aren’t shared with external servers unless you’re using Nabu Casa cloud features. ☁️ You can view your raw GPS data under Developer Tools → States to confirm it’s working. If privacy is a concern, you can limit accuracy by setting up zones (like “Home,” “Work,” or “Gym”) instead of tracking precise GPS coordinates.
🚀 Step 6: Automate Based on Presence
Now the fun part! 🎉 Create automations that use your device_tracker entity as a condition. For example:
- 💡 Turn on the porch light when you arrive home after sunset.
- 🔐 Lock all doors when everyone leaves the house.
- 🌡️ Adjust the thermostat when you’re away to save energy.
Go to Settings → Automations & Scenes → Add Automation and choose “State” as the trigger. Set your tracker entity’s state to “home” or “not_home,” and customize the action to fit your routine.
🎯 Final Thoughts
Learning how to enable tracking in the Home Assistant mobile app unlocks one of the most powerful automation tools in your smart home setup. Once configured, it allows your environment to react intelligently and efficiently — with no manual input needed. From energy savings to convenience, presence tracking is a simple upgrade that transforms how you live. ✨ Follow the steps above, test your automations, and enjoy a truly responsive Home Assistant experience.
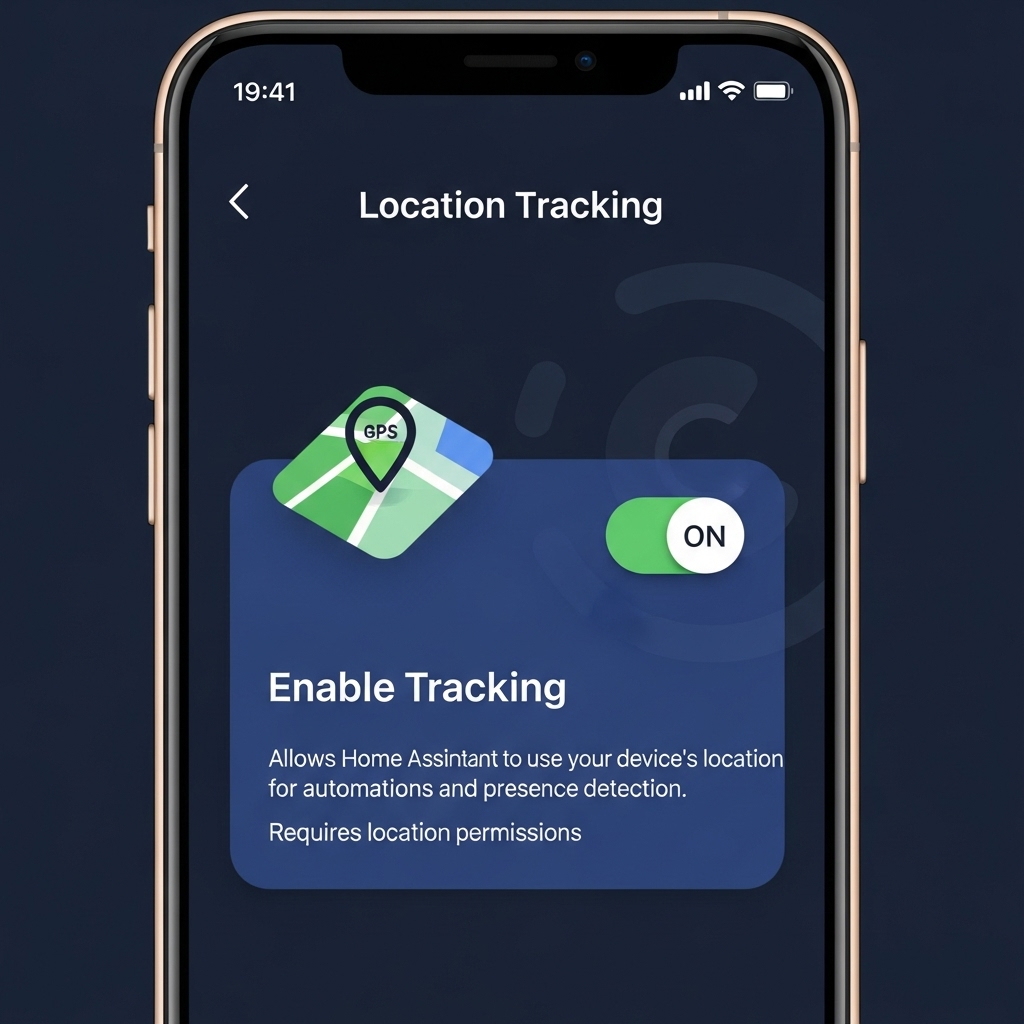
Table of contents
Editorial Process
Warning
Tags