If you use SmartThings to manage your smart home but rely on Apple HomeKit for daily control, you’ve probably noticed the two ecosystems don’t natively talk to each other. That’s where Homebridge comes in — a lightweight, open-source server that acts as a bridge between SmartThings and Apple Home. 🏠 With the right setup, you can bring all your SmartThings devices — from lights and sensors to plugs and thermostats — right into the Apple Home app, gaining full control with Siri voice commands or automations on your iPhone, iPad, or Apple Watch. In this guide, we’ll walk you through how to connect SmartThings to Homebridge for seamless Apple Home integration.
Introduction
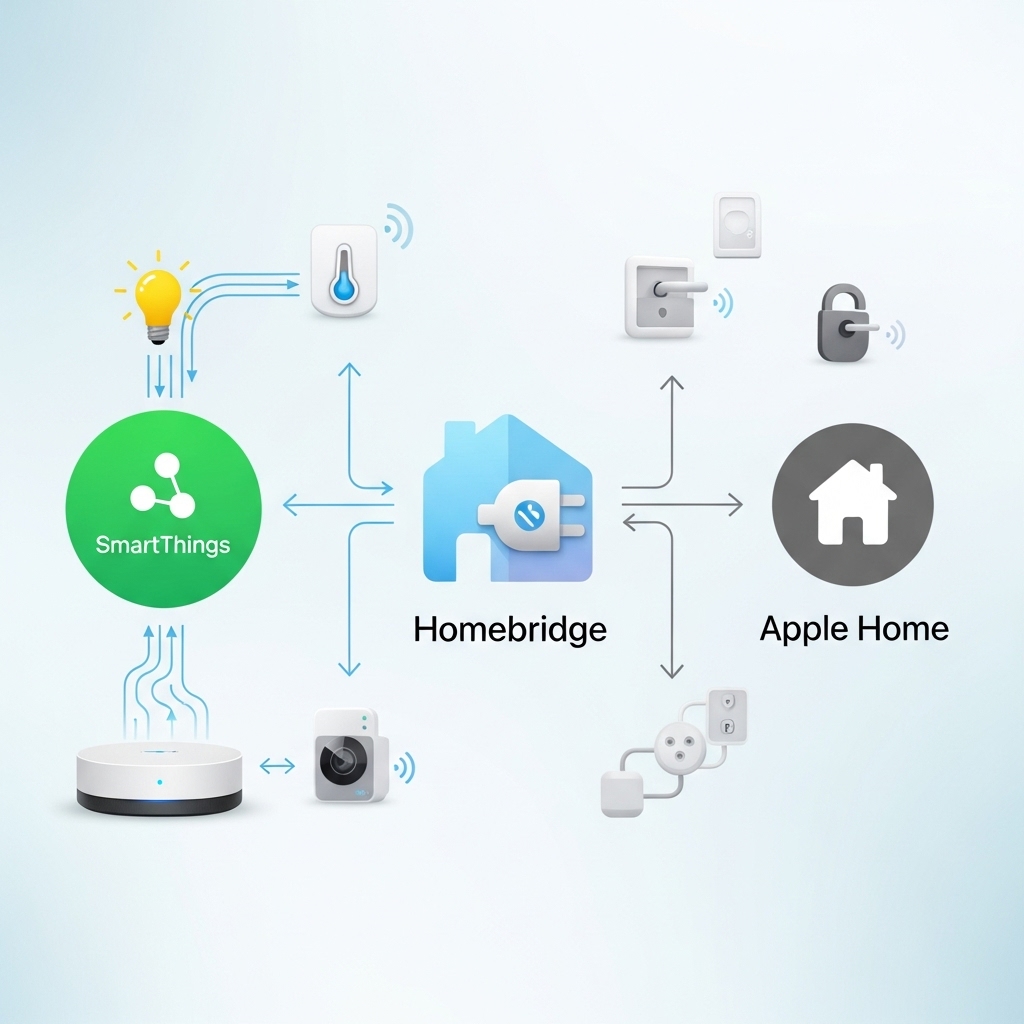
If you love using SmartThings to manage your smart home but prefer Apple HomeKit for daily control, you’ve likely noticed that these two powerful ecosystems don’t natively communicate. That’s where Homebridge steps in — an open-source bridge that connects SmartThings with Apple Home, allowing you to control everything through Siri and the Apple Home app. 🏠
The Homebridge SmartThings integration works by using a community plugin that links your SmartThings account to your local Homebridge server. Once configured, all your devices — lights, switches, sensors, plugs, and thermostats — become instantly accessible inside the Apple Home interface. From there, you can use Siri voice commands, create automations, or control everything remotely from your iPhone, iPad, or Apple Watch. 📱⌚
Imagine saying, Hey Siri, turn off all the lights
— and
your SmartThings-connected bulbs respond instantly, even if
they weren’t designed for HomeKit. Or setting up an Apple Home
automation that runs when your SmartThings door sensor detects
motion. 🚪✨ With Homebridge acting as the translator, your
devices finally work together in perfect harmony.
In this guide, you’ll learn step-by-step how to connect SmartThings to Homebridge for Apple Home integration. We’ll cover:
- ⚙️ How to install and configure the Homebridge SmartThings plugin
- 🔗 How to link your SmartThings account with Homebridge
- 🧠 How to sync and control your devices from the Apple Home app
By the end, you’ll have a unified smart home system that combines the flexibility of SmartThings with the elegance and privacy of Apple HomeKit — all working seamlessly together. 🍎🔗
Main
🎯 What Is Homebridge and Why Use It?
Homebridge is an open-source server that allows non-HomeKit devices, like those connected to SmartThings, to work seamlessly with Apple HomeKit. 🍏 It acts as a translator between SmartThings’ ecosystem and Apple’s Home app, enabling control via Siri voice commands, automations, and remote access. 🏠
Using Homebridge with the SmartThings plugin unlocks advanced possibilities:
- 💡 Control SmartThings lights, switches, and plugs through the Apple Home app
- 🎙️ Use Siri to trigger actions like turning devices on/off or running scenes
- 📡 Integrate SmartThings sensors into Apple Home automations
- 🔔 Receive notifications or alerts on Apple devices from SmartThings events
In short, Homebridge bridges the gap, giving you full control of your smart home in one unified interface.
⚙️ Step 1: Install Homebridge
To begin, you need a device to run Homebridge — typically a Raspberry Pi, a Windows or Mac computer, or a NAS. Follow these steps to install the Homebridge server:
🪜 Installation Steps:
- 1️⃣ Install Node.js (version 18 or higher is recommended)
- 2️⃣ Install Homebridge via npm with
sudo npm install -g homebridge - 3️⃣ Run Homebridge to ensure the server starts and generates a configuration file
- 4️⃣ Optionally, install the Homebridge UI plugin for easier management via browser
Once installed, your server will be ready to accept plugins and connect to your SmartThings account.
🔗 Step 2: Install the SmartThings Plugin
Next, install the homebridge-smartthings plugin, which exposes your SmartThings devices to Apple HomeKit.
🔧 Plugin Setup:
- 1️⃣ In the Homebridge UI, go to Plugins and search for homebridge-smartthings
- 2️⃣ Click Install and wait for the process to complete
- 3️⃣ Open the plugin settings and input your SmartThings Personal Access Token (PAT)
- 4️⃣ Save settings and restart Homebridge
After restarting, the plugin will sync your SmartThings devices and make them visible in Apple Home.
🧭 Step 3: Connect Devices to Apple Home
Once the plugin is active, each device appears as a HomeKit accessory. From here:
- 🏠 Control devices directly via the Apple Home app
- 🎙️ Use Siri commands like “Turn off the living room lights” or “Set the thermostat to 22°C”
- ⏰ Include devices in Apple Home automations and scenes
- 📱 Control everything remotely with your iPhone, iPad, or Apple Watch
This setup allows your SmartThings sensors, switches, and bulbs to work harmoniously with Apple HomeKit routines. For example:
- 🚪 Motion sensor triggers a HomeKit scene when someone enters a room
- 💡 Lights turn on automatically when your presence sensor detects you at home
- 🔔 Door sensors send alerts through Apple devices
✨ Step 4: Tips for Best Performance
- ⚡ Keep Homebridge running on a stable device to avoid disconnects
- 🔄 Regularly update Homebridge and the SmartThings plugin to the latest version
- 🧹 Remove unused SmartThings devices from the plugin to reduce clutter in Apple Home
- 🌐 Ensure your SmartThings hub and Homebridge server are on the same network for reliable sync
🌐 Final Thoughts
By connecting SmartThings to Homebridge, you gain the flexibility of SmartThings devices combined with the elegance of Apple HomeKit. Your devices become fully controllable via Siri, integrated into Apple automations, and accessible remotely. 🌟 Whether it’s lights, sensors, or switches, your smart home now works as a seamless ecosystem — bringing convenience, control, and a little Apple magic to your everyday life. 🍎🏠
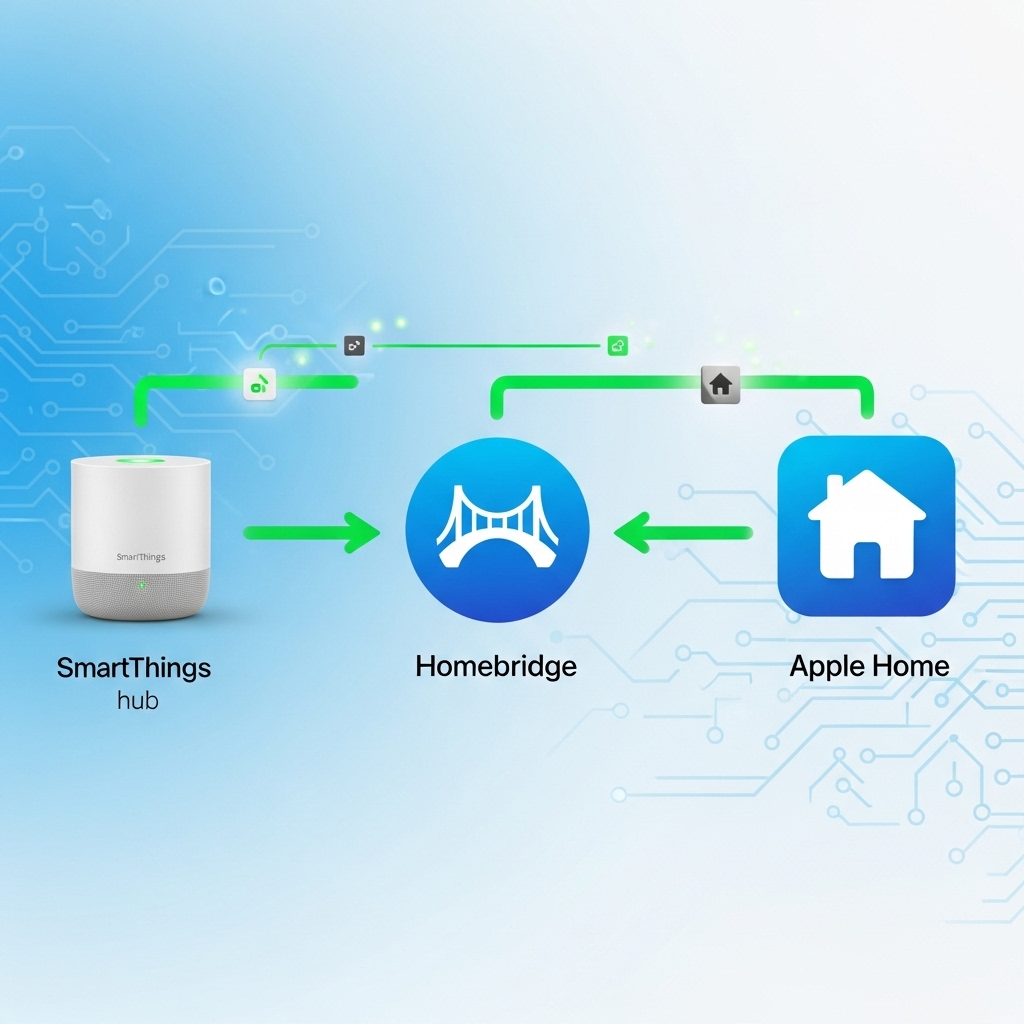
Table of contents
Editorial Process
Warning
Tags