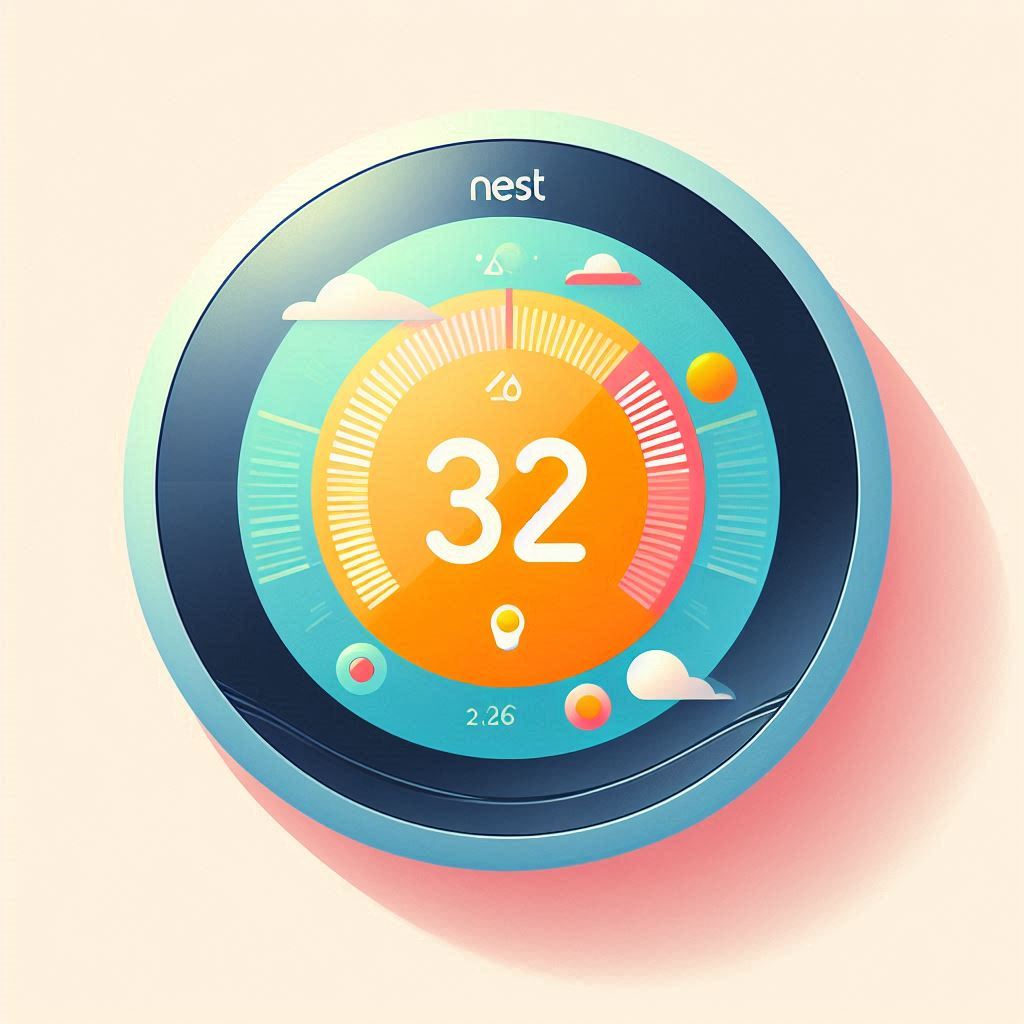
Getting ready to upgrade your home to a smart, energy-efficient haven? 🌟 The Google Nest Thermostat is a game-changer in home automation 🏡. This sleek device not only learns your daily schedule but also helps you save money by optimizing your heating and cooling systems 💸. Imagine coming home to the perfect temperature every day, without lifting a finger. 😌 In this step-by-step guide, we'll walk you through the installation process, highlighting the importance of proper setup for maximum efficiency and comfort. Ready to transform your living space? Let's dive in! 🚀
Introduction
The Google Nest Thermostat is a smart device designed to make your home more comfortable and energy-efficient 🌍. It learns your schedule 📅 and preferences, automatically adjusting the temperature to your liking 🏠. Imagine coming home to a perfectly cozy environment without lifting a finger 🖱️. Plus, it saves you money by optimizing energy use 💰.
Installing the Google Nest Thermostat is super important. A well-installed thermostat ensures accurate temperature readings 🌡️ and seamless integration with your heating and cooling systems 🛠️. This leads to optimal performance and energy savings. Improper installation can result in faulty readings 📉, system malfunctions ⚠️, or even damage to your HVAC system. Following the installation guide carefully ensures that you get the full benefits of this smart device.
Main
The Google Nest Thermostat is a smart thermostat that learns your habits and programs itself automatically to keep your home at the ideal temperature, saving you energy and money. If you're thinking about installing a Nest Thermostat, this step-by-step guide with emojis will help you do it quickly and easily.
Tools and Materials Needed
- Google Nest Thermostat
- Phillips screwdriver🪛
- Painter's tape 🟨
- Level
- Pencil ✏️
- See it on Amazon
Step 1: Turn Off the Power to Your Heating and Cooling System
Before you begin installation, it is important to turn off the power to your heating and cooling system. You can do this by locating the corresponding breaker in your electrical panel and switching it off. Safety first!
Step 2: Remove the Old Thermostat
Use a Phillips screwdriver to remove the faceplate of your old thermostat. Then, take a picture of the wiring for future reference. Disconnect the wires from the old thermostat and label them with painter's tape to identify which terminal they belong to.
Step 3: Mount the Nest Thermostat Base Plate
Attach the Nest Thermostat base plate to the wall using the provided screws. Be sure to use a level to ensure the plate is level. Make sure it's straight!
Step 4: Connect the Wiring
Connect the wires from your heating and cooling system to the corresponding terminals on the Nest Thermostat base plate. Make sure to match the wire labels to the correct terminals. Double-check the connections! ✅
Step 5: Attach the Nest Thermostat to the Base Plate
Press the Nest Thermostat onto the base plate until it clicks into place.
Step 6: Turn on the Power and Set Up the Nest Thermostat
Turn on the power to your heating and cooling system. The Nest Thermostat will automatically power on and guide you through the setup process, including connecting to your Wi-Fi network and creating a temperature schedule.
Additional Tips
- If you're not comfortable installing the Nest Thermostat yourself, you can hire an electrician or HVAC technician to do it for you. Get help if needed!
- The Google Home app can be used to control the Nest Thermostat remotely from your smartphone or tablet.
- The Nest Thermostat offers several energy-saving features, such as smart scheduling, presence detection, and energy usage reports.
Learn more about Google Nest Thermostat
Conclusion
Installing a Google Nest Thermostat is a great way to make your home more comfortable and energy-efficient. Following this step-by-step guide with emojis, you'll be able to install and configure your Nest Thermostat in no time. ❄️


