Smart home enthusiasts often encounter situations where a Z-Wave switch needs replacement, whether due to malfunction, upgrade, or a change in design. SmartThings, one of the leading smart home platforms, makes managing and automating devices straightforward, but replacing a Z-Wave switch can feel intimidating for beginners. In this guide, we’ll break down the process step by step, ensuring that even those new to SmartThings can confidently handle the task. You’ll learn how to safely remove your old switch, connect and pair the new one, and verify that it integrates seamlessly with your existing setup.
Introduction
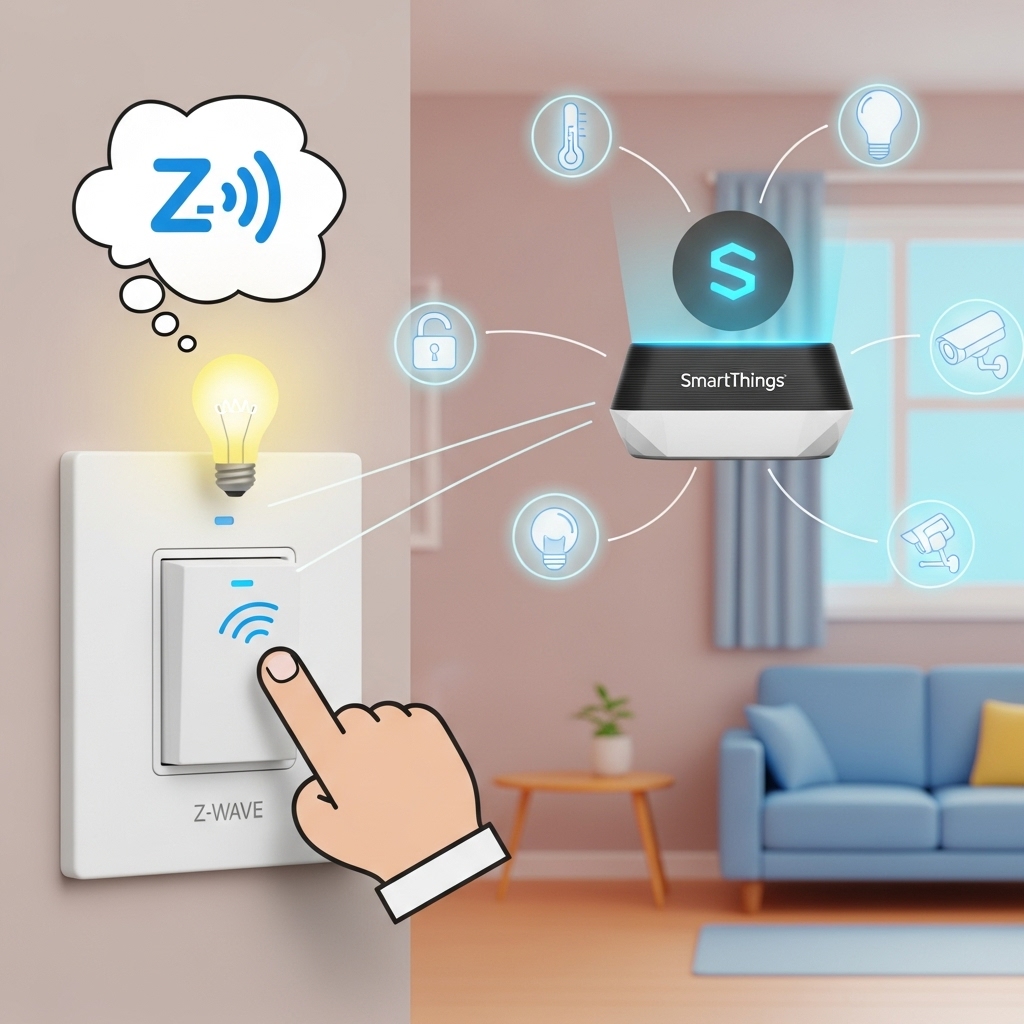
Upgrading or replacing a Z-Wave switch in your SmartThings setup might sound complicated, but with the right guidance, it can be a smooth and even satisfying DIY task! ⚡ SmartThings is a powerful smart home platform that allows you to automate lights, fans, and other devices, making your daily routines easier and more efficient. Over time, however, switches can fail, become outdated, or simply no longer fit your home’s style. That’s when knowing how to replace them safely becomes essential. 🏡 This guide is designed for both beginners and seasoned smart home enthusiasts. We’ll cover everything from turning off the power to your old switch 🔌, carefully removing it, and installing a new Z-Wave switch without disrupting your home automation network. You’ll also learn how to pair the new switch with SmartThings, check its functionality, and troubleshoot common issues, ensuring that your smart home continues running smoothly. 🛠️ Replacing a Z-Wave switch is not just about functionality—it’s about maintaining control and convenience in your smart home. Imagine flipping a switch and knowing your SmartThings automation will respond perfectly, whether it’s adjusting lighting scenes, triggering routines, or saving energy. 💡✨ By following this step-by-step guide, you’ll gain confidence, avoid costly mistakes, and keep your home smart and efficient. So, let’s dive in and make your Z-Wave switch replacement process simple, safe, and stress-free! 🚀
Main
Why Replace a Z-Wave Switch in SmartThings?
Replacing a Z-Wave switch may seem daunting, but it’s often necessary for better performance, updated features, or style upgrades. SmartThings makes it easy to manage multiple smart devices, but ensuring your Z-Wave switch is functional is key to seamless automation. Here’s why replacement might be needed:
- ⚡ Malfunctioning Switch: Old switches can fail or respond intermittently.
- 🎨 Design Update: Upgrade to a switch that matches your home décor.
- 🛠️ Feature Upgrade: Modern switches offer dimming, remote access, and energy monitoring.
Step-by-Step Guide to Replacing Your Z-Wave Switch
1. Turn Off Power and Remove Old Switch 🔌
- Locate the breaker and turn off the power to avoid electric shock.
- Unscrew the old switch and gently pull it from the wall box.
- Note the wiring configuration for easy installation of the new switch.
2. Install the New Z-Wave Switch 🏡
- Connect the wires to the corresponding terminals on the new switch.
- Carefully push the switch back into the wall box and secure it with screws.
- Restore power from the breaker and ensure the switch powers on.
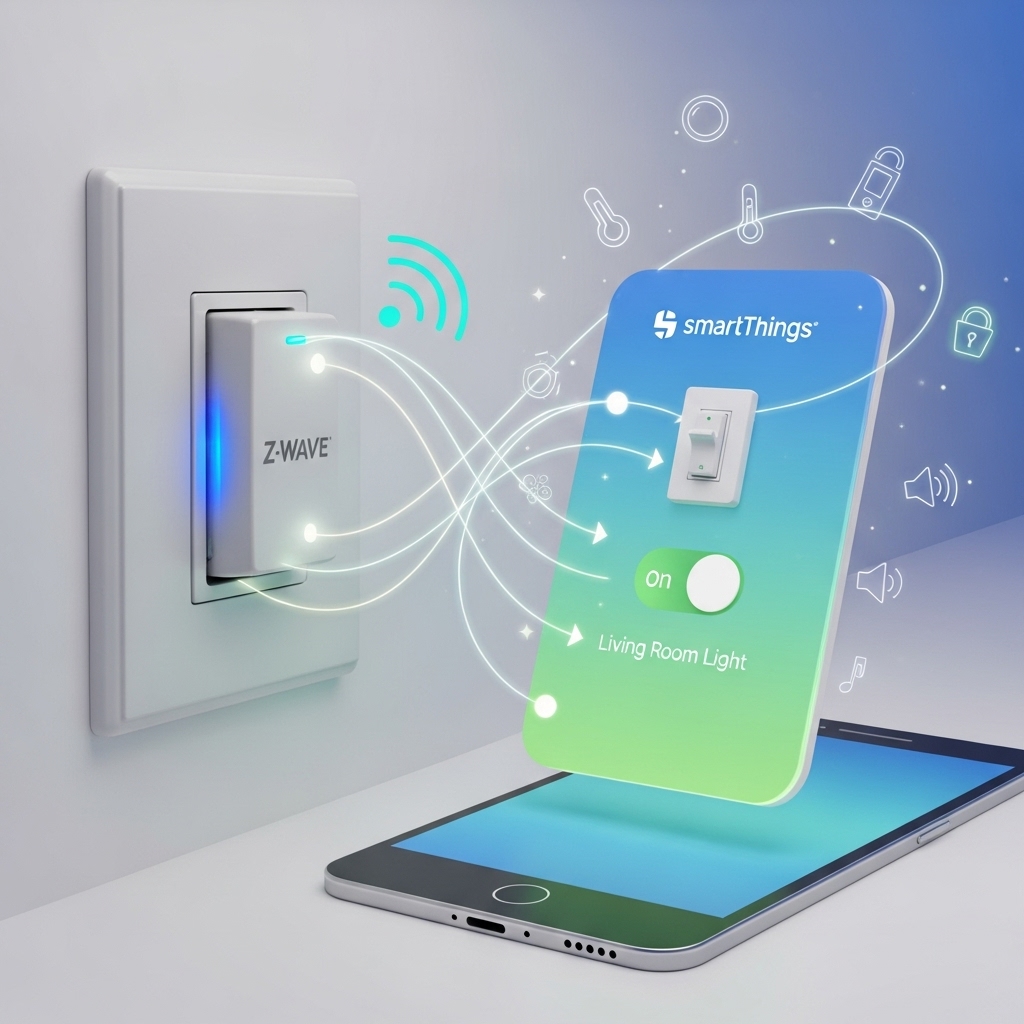
3. Pairing the Switch with SmartThings 📱
- Open the SmartThings app and select “Add Device.”
- Follow the on-screen instructions to put the switch in pairing mode.
- Confirm the switch is recognized and functions correctly within your automations.
Key Features of Modern Z-Wave Switches ✨
- 💡 Remote Control: Turn lights on/off from anywhere using SmartThings.
- 🌙 Dimming Options: Adjust brightness levels to suit your mood or activity.
- ⚡ Energy Monitoring: Track energy usage to reduce electricity bills.
- 🔄 Seamless Integration: Works with other Z-Wave devices and SmartThings routines.
Pros and Cons of Replacing Your Z-Wave Switch
- Pros ✅
- Reliable performance and modern features.
- Enhanced control through SmartThings app.
- Energy savings and automation efficiency.
- Cons ⚠️
- Requires basic electrical knowledge for safe installation.
- Initial setup may take some time for pairing and testing.
Tips for a Smooth Replacement 🛠️
- Double-check your wiring configuration before connecting the new switch.
- Keep the SmartThings app updated to ensure compatibility.
- Test automations immediately to confirm proper function.
- Consider labeling wires or taking a photo of the old switch for reference.
Conclusion 🚀
Replacing a Z-Wave switch in SmartThings doesn’t have to be intimidating. By following these steps, you’ll enjoy reliable performance, modern features, and seamless automation in your smart home. ⚡ Whether you’re upgrading for functionality, style, or energy efficiency, this guide ensures a smooth and safe replacement process, keeping your home smart and stress-free!
Affiliate Disclaimer
This site contains affiliate links, which means that we may receive a small commission, at no cost to you, if you make a purchase through a link. We only promote products or services that we use personally and believe will add value to our readers. Please read our full disclosure policy for more information. Thank you for supporting our site!
Table of contents
Affiliate Disclosure
Warning
Tags